Getting the most out of your vinyl collection starts with proper tonearm setup. The tonearm is the critical link between your turntable and the grooves of your records. Even a high-end turntable or cartridge can sound mediocre if the tonearm isn’t properly configured. This guide gets you started, though it’s not comprehensive. For more info visit your tonearm or turntable manufacturer’s website.
1. Understand the Basics of the Tonearm
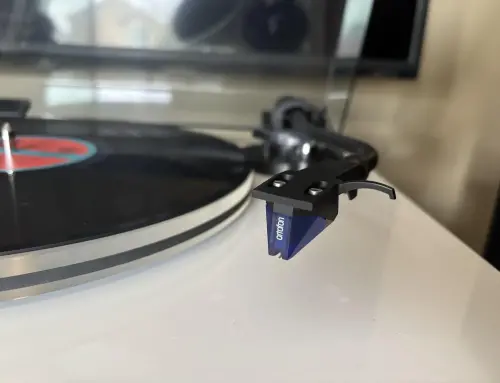
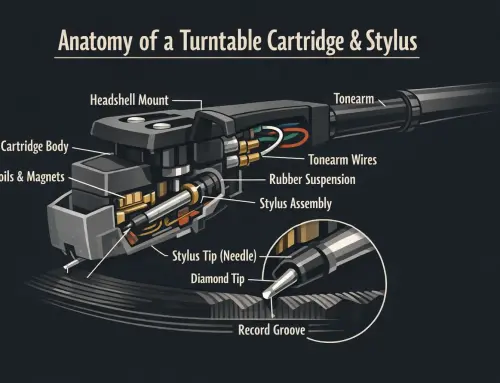
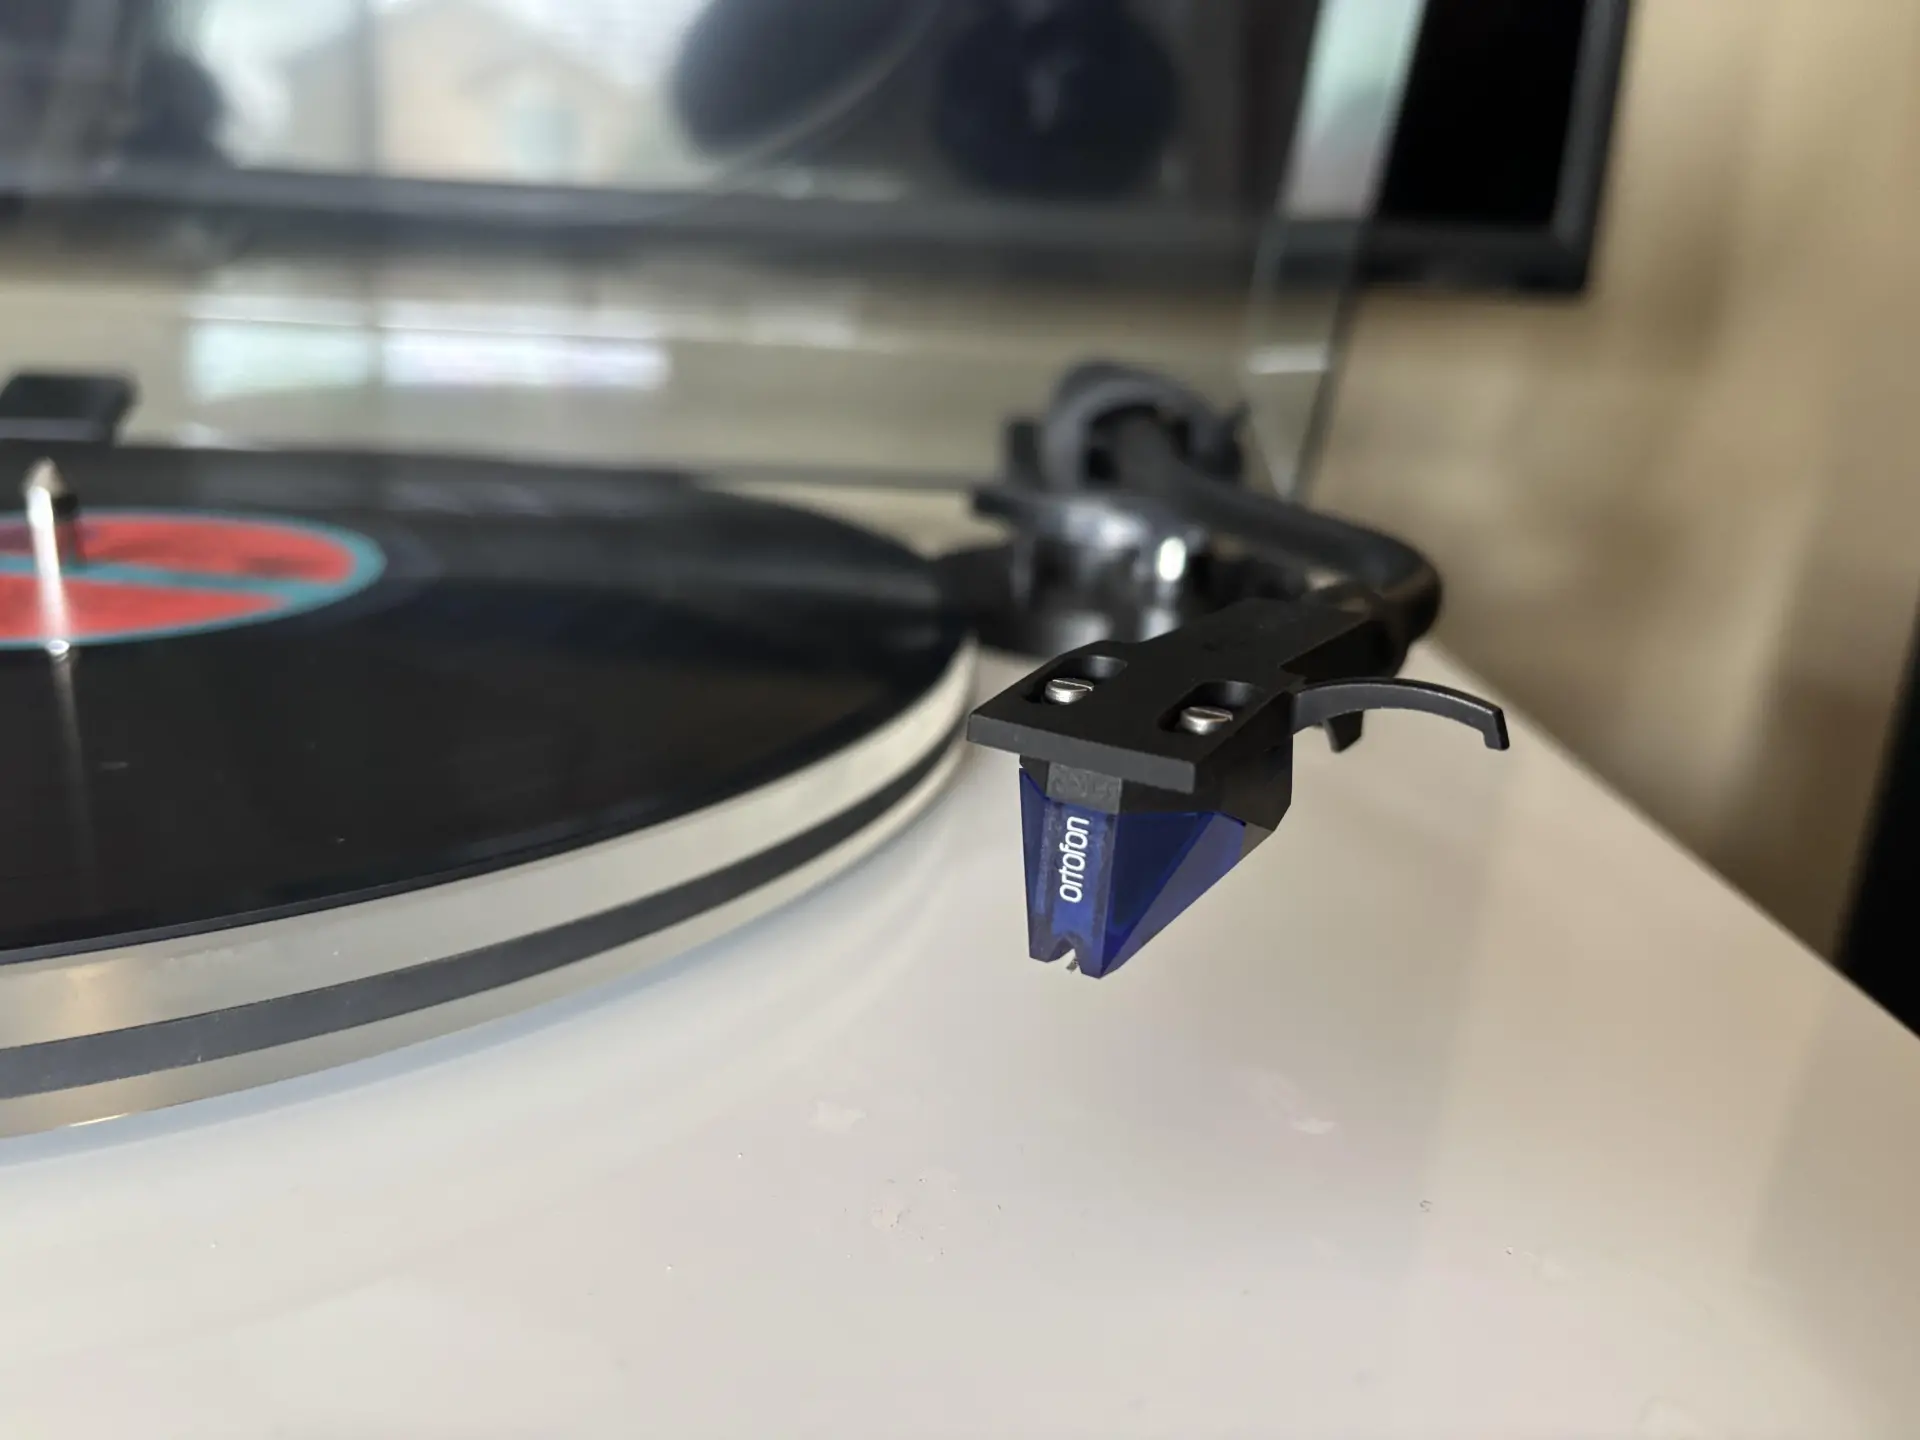
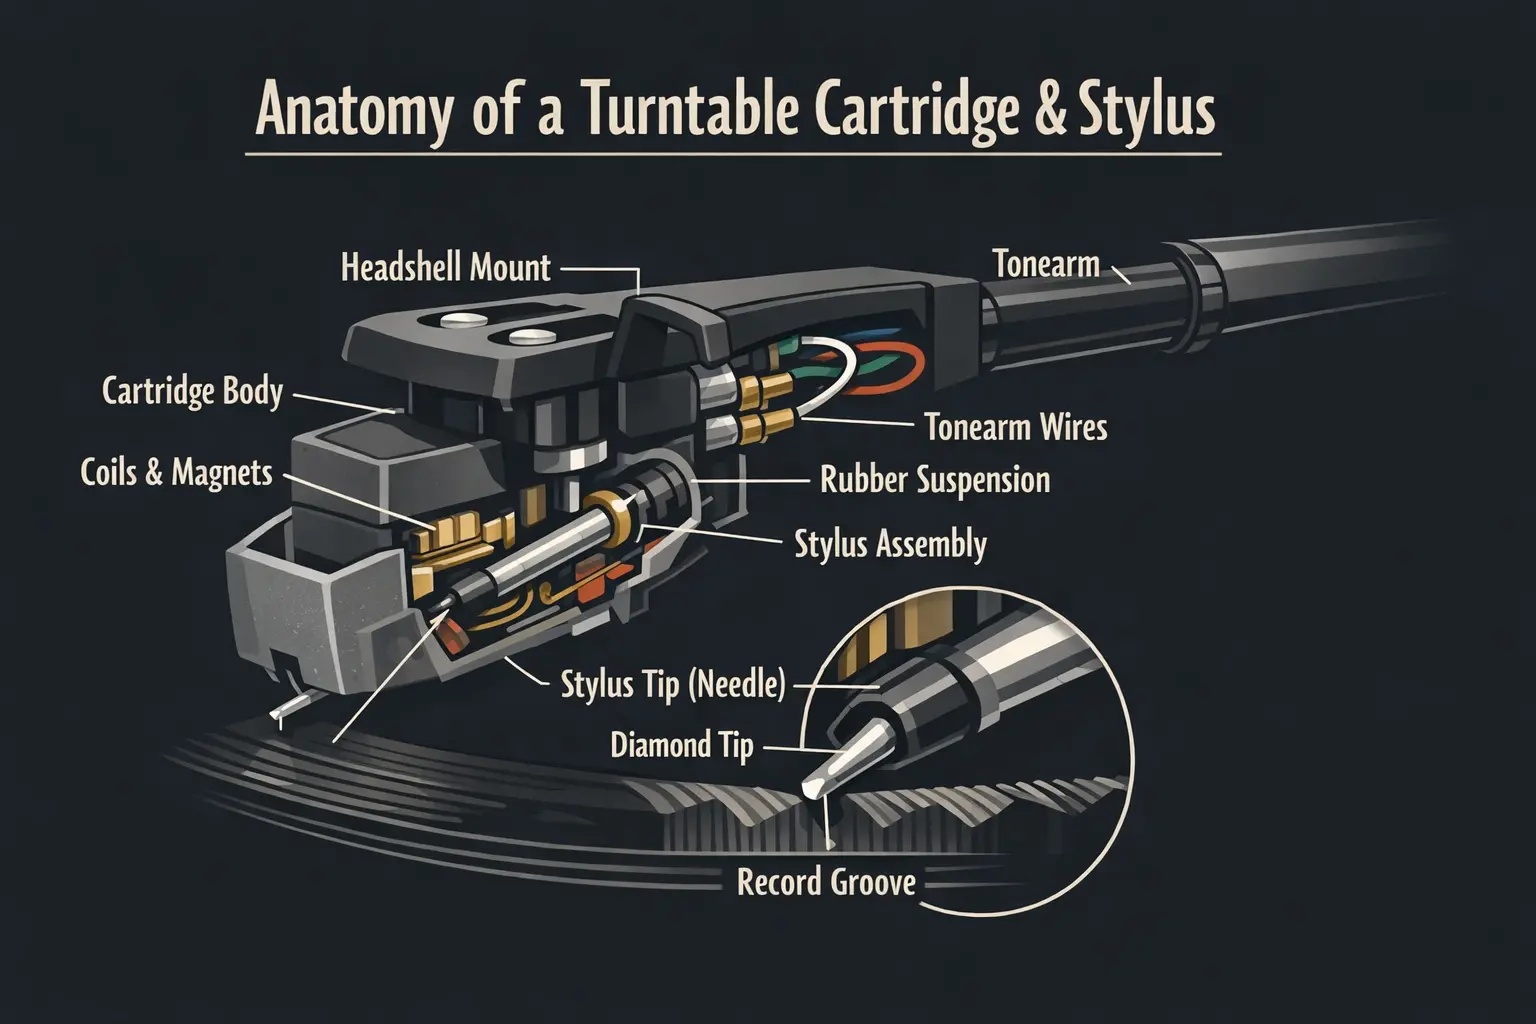
The tonearm holds the cartridge and stylus and allows it to track the grooves of your vinyl. Key adjustments include:
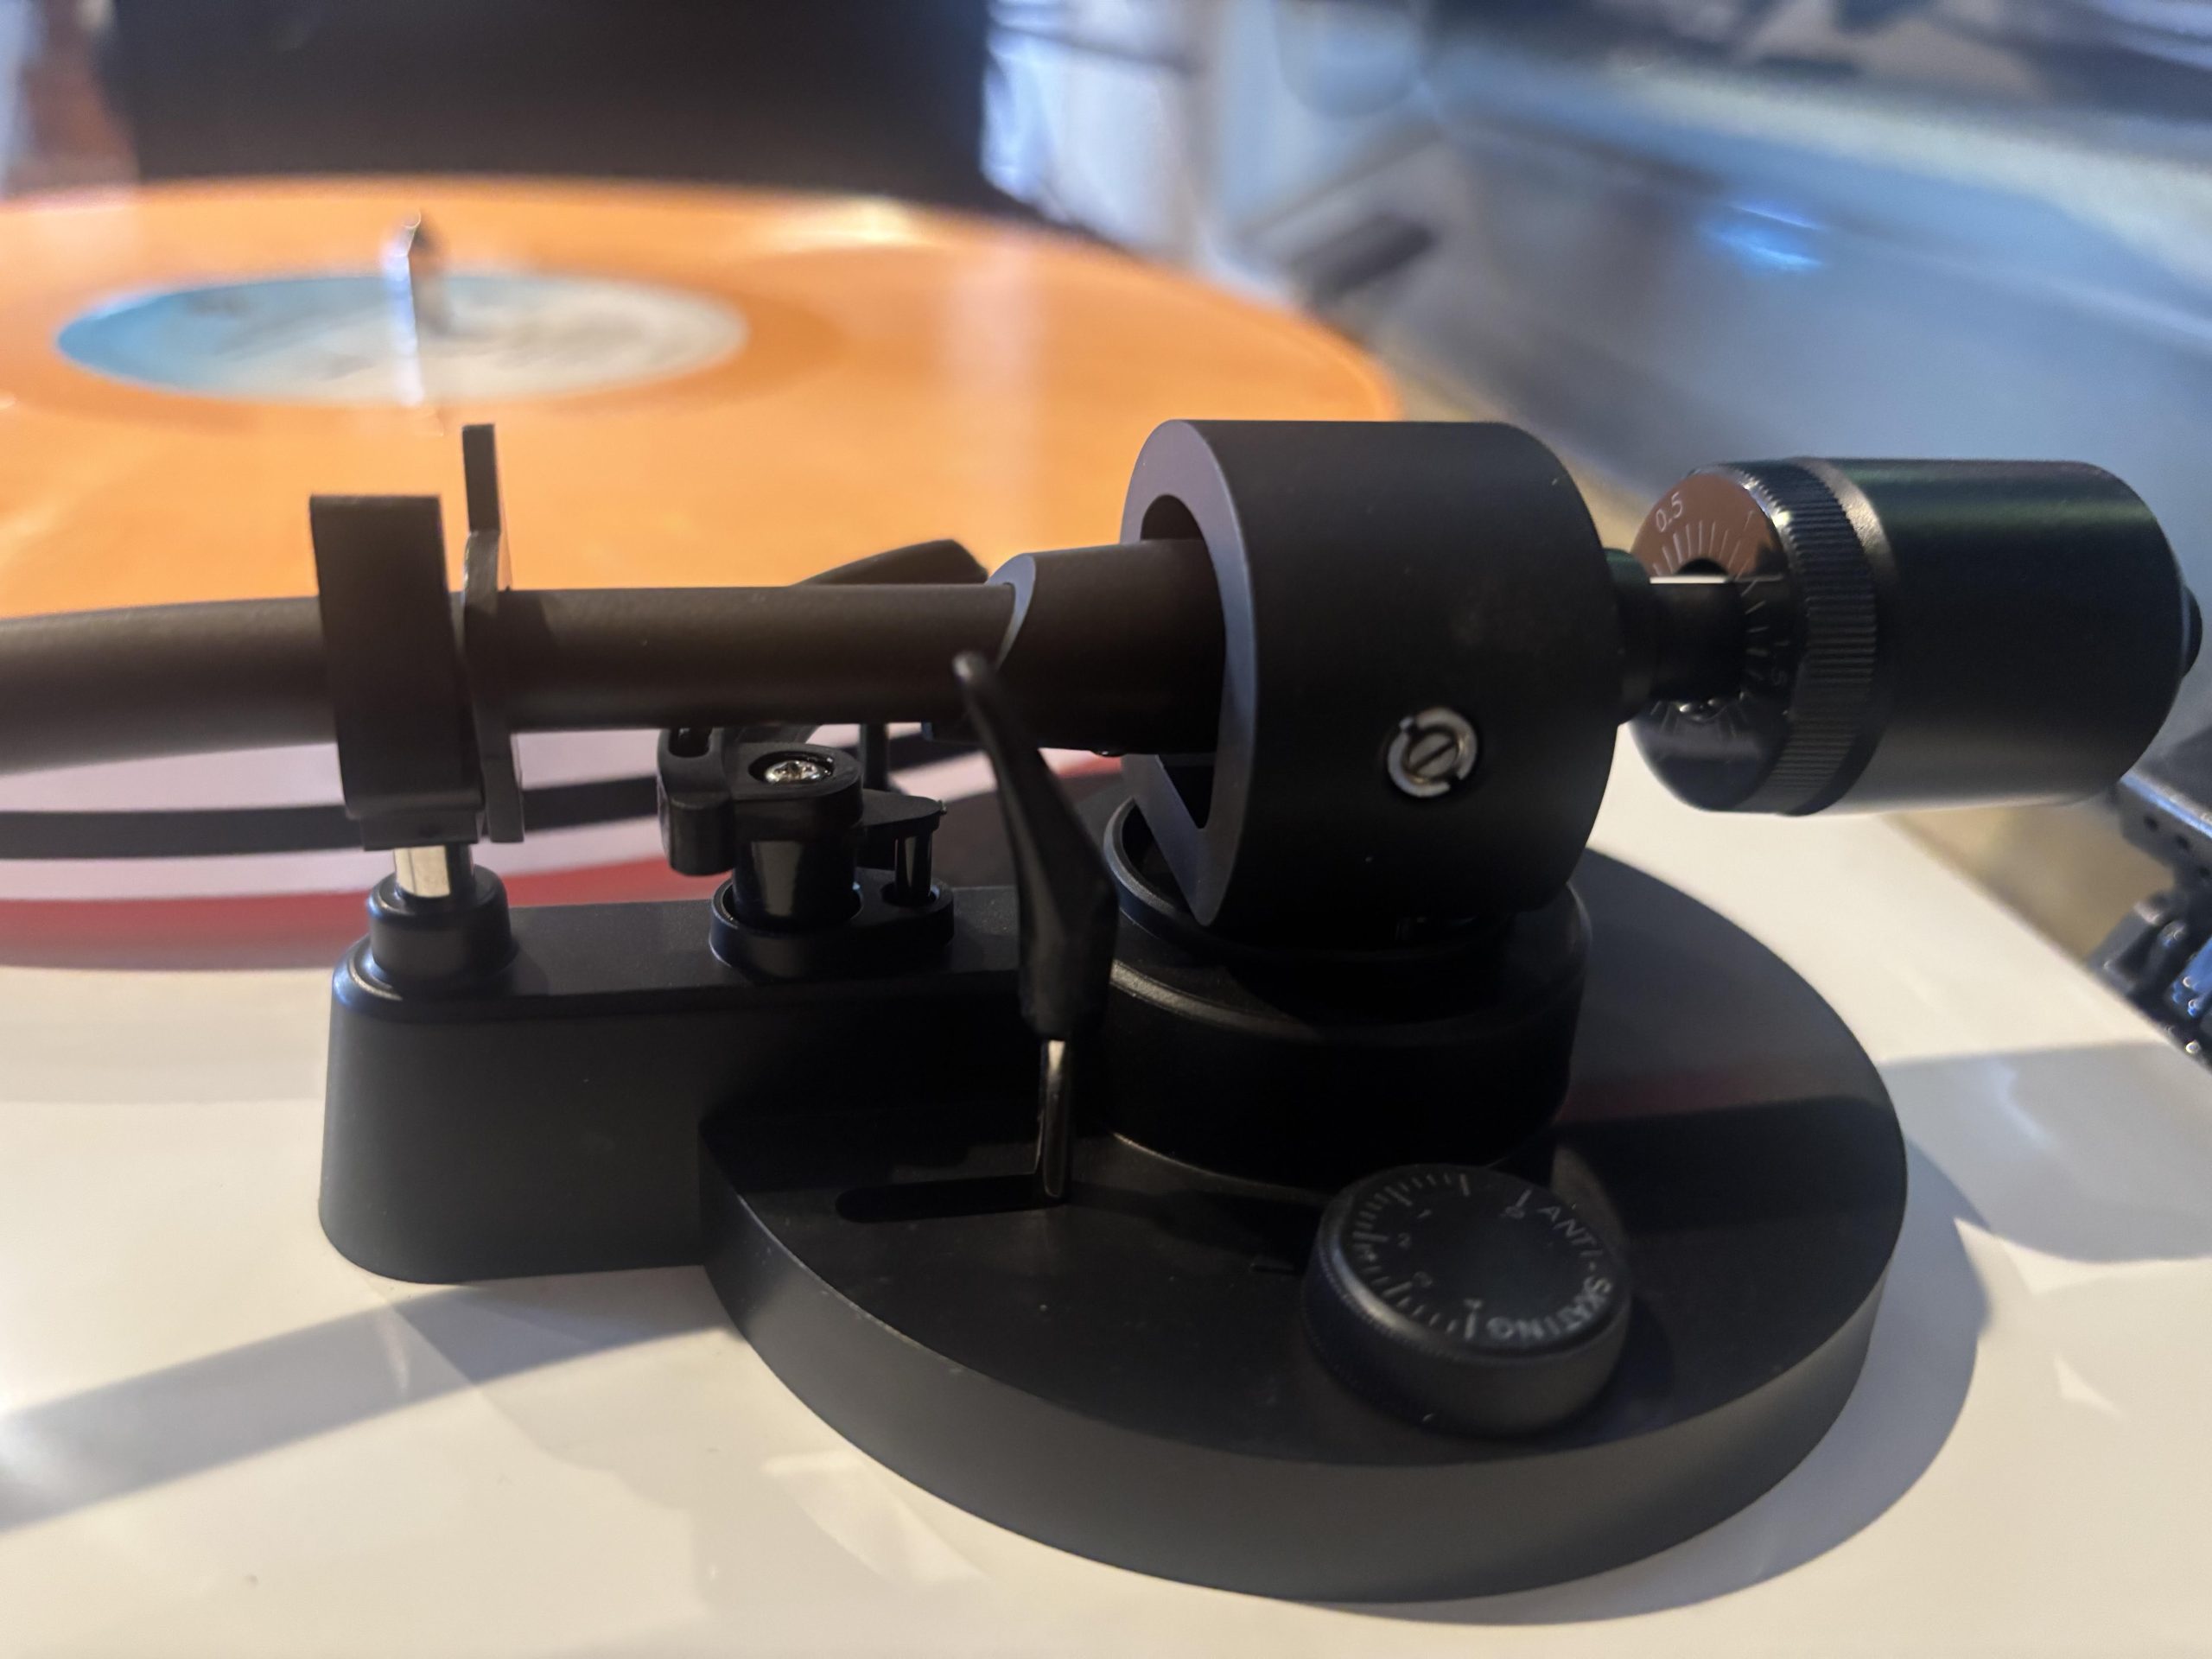
- Tracking force: The downward pressure of the stylus on the record.
- Anti-skate: Offsets the natural inward pull of the tonearm toward the record center.
- Cartridge alignment: Ensures the stylus sits at the correct angle for optimal tracking.
- Tonearm height (VTA): Affects the angle of the stylus relative to the groove.
Proper adjustments prevent record wear, stylus damage, and distortion while improving sound quality.
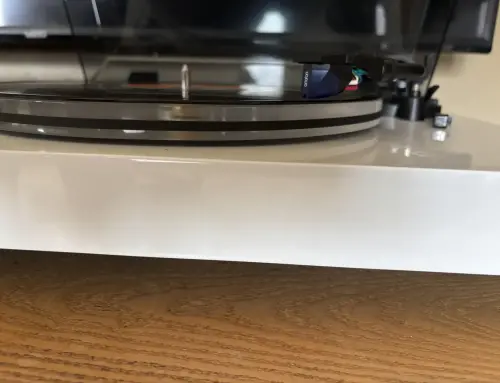
2. Start with a Level Surface
Before making any adjustments:
- Place your turntable on a stable, vibration-free, level surface.
- Use a bubble level to check that the plinth (the plinth is the base or chassis of your turntable) is flat.
- Even slight tilts can affect tracking and sound fidelity.
3. Balance the Tonearm
Most tonearms require manual balancing:
- Unlock the tonearm and move it over the platter.
- Adjust the counterweight until the arm floats horizontally (parallel to the platter).
- Set the counterweight to the cartridge manufacturer’s recommended tracking force.
Tip: A tracking force too low can skip grooves; too high can damage records. For model-specific tracking force recommendations, see your cartridge manufacturer’s manual.
4. Set the Anti-Skate
Anti-skate ensures even pressure across the groove:
- Set anti-skate equal to the tracking force (most turntables have a dial or weight system).
- Test with a record: if the stylus drifts inward or outward, adjust slightly.
Proper anti-skate prevents uneven wear and distortion, especially toward the inner grooves.
Learn more over at Youtube.com with this video from Fluance.
5. Align the Cartridge Correctly
Cartridge alignment is crucial for accurate tracking:
- Use a Cartridge Alignment Protractor to align the cartridge to the correct angle.
- Make sure the stylus tip is centered at both inner and outer groove points.
- Misalignment can cause sibilance, distortion, and uneven wear.
- Download a Cartridge Alignment Protractor here.
6. Adjust Tonearm Height (VTA)
The vertical tracking angle (VTA) affects tonal balance:
- If the tonearm is too high, the sound may be thin.
- If too low, the sound can be muddy.
- Adjust until the arm is parallel to the record while playing.
7. Test and Fine-Tune
- Play a record with a familiar track.
- Listen for distortion, sibilance, or skipping.
- Make small adjustments to tracking force, anti-skate, or VTA until the sound is clear and balanced.
8. Additional Tips for Optimal Tonearm Performance
- Keep your stylus clean to prevent buildup.
- Ensure the turntable platter rotates smoothly.
- Avoid placing your turntable near vibrations, speakers, or heat sources.
For community advice, setup questions, or advanced tweaks, Reddit’s r/vinyl community and Steve Hoffman Forums are excellent resources.
Conclusion
Proper tonearm setup is essential for preserving your records and getting the best sound from your vinyl. By balancing the tonearm, setting tracking force and anti-skate, aligning the cartridge, and adjusting the tonearm height, you can enjoy cleaner, more dynamic playback. Investing a little time in setup pays off with years of superior vinyl listening experiences.